
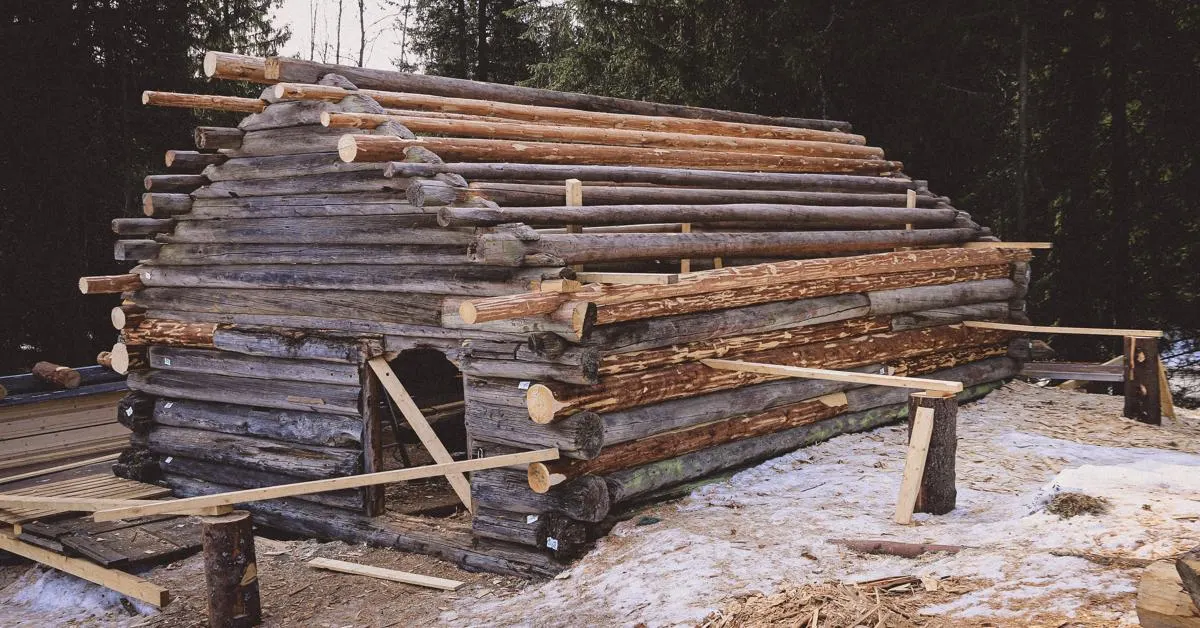
Restoring a damaged log cabin takes patience, but it isn't a mystery. Whether the damage comes from years of sun and rain, a roof leak, insects or plain neglect, a proper restoration follows the same basic order: find out what's wrong, take the house back to sound wood, repair it, and protect it so the problem doesn't come right back.
Here's what that process looks like from start to finish, and what to expect at each stage when Great South Log Homes restores a log home.
Step 1: Inspect the Whole House
Every restoration starts with a close look at the entire home, not just the worst wall. We check the condition of the finish, probe logs for soft or rotted wood, look for signs of insects, and go over the chinking, caulk, windows, doors, porches and decks.
Just as important is finding the cause. A missing gutter, a sprinkler hitting the wall, a roofline that sheds water onto the logs, or soil piled against the bottom courses can all be the real reason a wall is failing. The inspection tells you which logs can be saved, which need repair or replacement, and what needs to change around the house so the damage doesn't return.
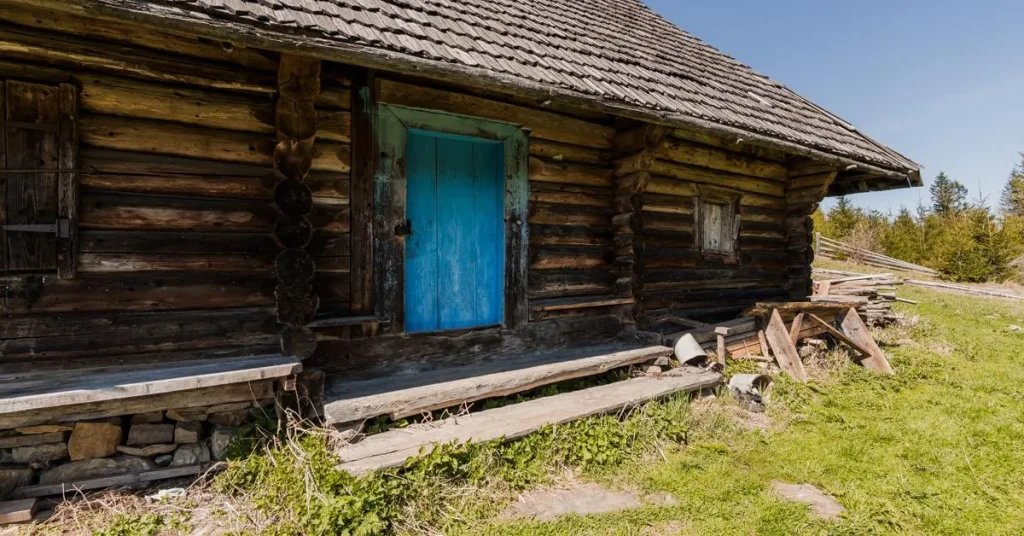
Step 2: Fix the Source of the Problem
There's little point repairing a log that will be soaked again next season. Before or alongside the restoration, water problems get addressed: gutters and downspouts, splash-back from the ground, landscaping and irrigation, and flashing around windows, doors and the roof. Any insect activity is dealt with too, so the repairs aren't undermined by an active infestation.
Step 3: Strip the Old Finish
New finish needs clean, bare wood to bond to. Old stain, failing sealers, paint, mildew and gray, weathered wood are removed, often by media blasting, which uses a fine abrasive to strip the surface without soaking the logs. Careful washing or chemical stripping is used where it's a better fit. Once the logs are clean, they're sanded to smooth any raised grain and open the wood to take the new finish.
Stripping also uncovers damage the old coating was hiding, so the repair plan is often adjusted at this stage.
Step 4: Repair or Replace Damaged Wood
With the logs exposed, damaged wood can be dealt with properly. Depending on how far the rot or damage goes:
- Small areas of decay are cut back to sound wood and filled or patched.
- Larger damaged sections are cut out and replaced with matching wood spliced into the existing log.
- Logs that are too far gone are replaced, with the wall supported while the work is done.
- Upward-facing cracks that collect rainwater are sealed so water runs off instead of soaking in.
The goal is to keep as much of the original wood as possible while making sure everything left in the wall is solid.
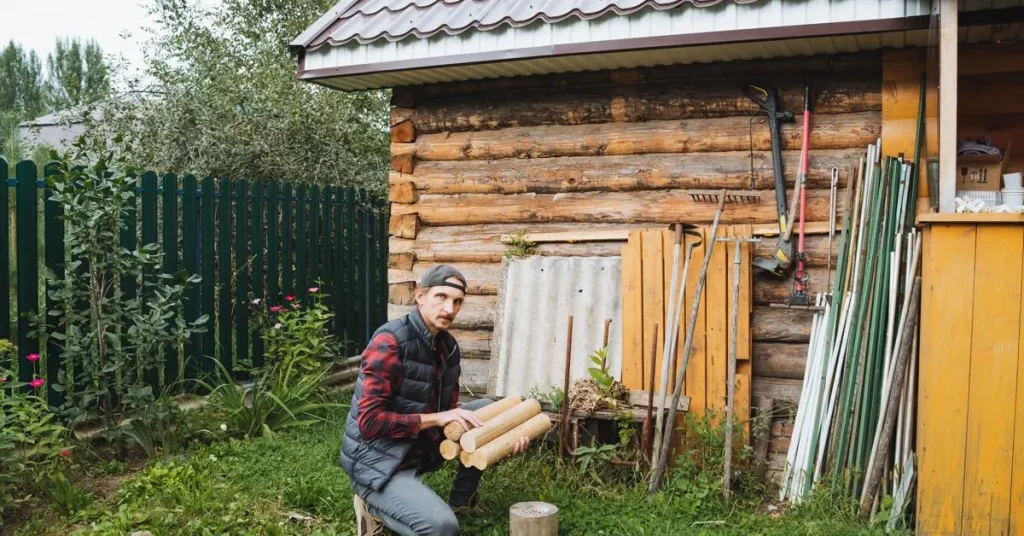
Step 5: Treat the Wood
Bare wood is the best time to protect against future rot and insects. A borate-based treatment is commonly applied at this point, because it soaks into the wood and makes it far less attractive to decay fungi and wood-boring insects. The logs then need time to dry, and moisture readings are taken so finish only goes on wood that's ready for it.
Step 6: Chink and Seal
Gaps between logs, at the corners and around windows and doors are sealed with chinking or caulk, depending on the joint. Good sealing keeps out water, air and insects, and it makes the home more comfortable and cheaper to heat and cool. Products made for log homes stay flexible as the logs swell and shrink through the seasons.
Step 7: Apply the New Finish
Finally, the logs are stained and sealed with a product chosen for the house and for how much sun and weather each side takes. Applying the finish evenly, in the right number of coats, gives the wood UV protection and water resistance and brings back the color the owner wants. Many finish systems add a clear topcoat for extra protection on the sides of the house hit hardest by sun and rain.
Step 8: Keep It Protected
A restored log home still needs regular care. Washing the logs, checking the finish once or twice a year, and scheduling a maintenance coat before the finish wears through will keep the restoration looking good and save you from repeating the major work. We'll tell you what to watch for on your house and when the next visit makes sense.
Bring Your Log Cabin Back to Life
Restoring a damaged log cabin is a big job, but done in the right order it can add decades to the life of the home. If your log home is showing its age, the family-operated team at Great South Log Homes can help, from the first inspection through restoration and refinishing. Contact us to schedule an inspection, or call (386) 249-0976.